This section includes:
Before configuring the ICA Client, you need to configure TCP/IP.
If you wish, you can set default preferences that are used for all connections. These options include defaults for the drive mappings, and the color and size of the windows.
To edit the general preferences, choose Preferences from the File menu.
| You need to be root to set the options in the Preferences panel or to set up global drive mappings. |
By default, the Preferences panel is displayed:
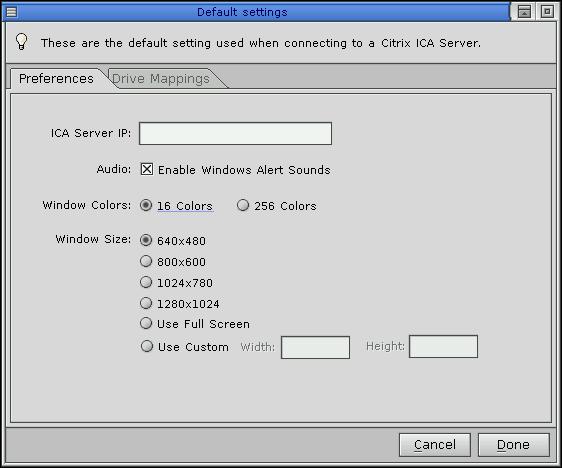
Preferences panel.
You shouldn't have to set the ICA Server IP. You can choose a window color and size. Once you're within Windows NT, you can't resize the window; you need to set it here.
The Drive Mappings panel looks like this:
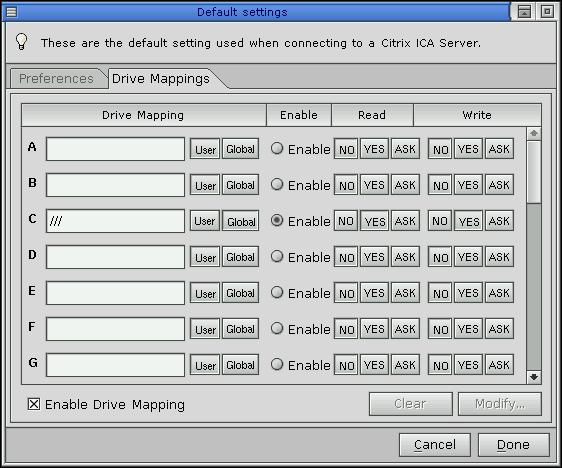
Drive Mappings panel.
You need to set a drive mapping only if you want to map a QNX directory to a DOS drive. This way you can share files between QNX and Windows NT. In Windows NT Explorer, the drive mapping is shown under the Network Neighborhood, Entire Network, Client Network, Client directory. For example, if you've mapped to drive A, you'll see \\Client\A$ in the Windows NT Client directory.
For each drive, this panel displays:
Enter your required DOS/Windows drive mappings and select the permissions. For example, to map /tmp as network drive E for Windows NT:
After you've set the general preferences, you can create a connection entry or edit an existing one.
To create an entry, do any one of the following:
![]()
To edit an existing connection entry:
![]()
The Properties dialog is displayed; you can use its panels to give a name to a server and configure its properties.
The Networking panel is displayed by default when you display the Properties dialog:
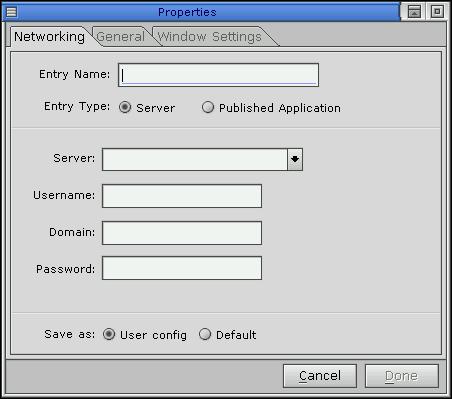
Networking options panel.
In this panel:
In the General panel, you can set the cache size (the default is 2048K). Note that the other options in this panel will be implemented in a later release for seamless windows.
In the Window Settings panel, you can set the window color and size. The settings you make here override those in the Preferences dialog. Once you're within Windows NT, you can't resize the window; you need to set it here.